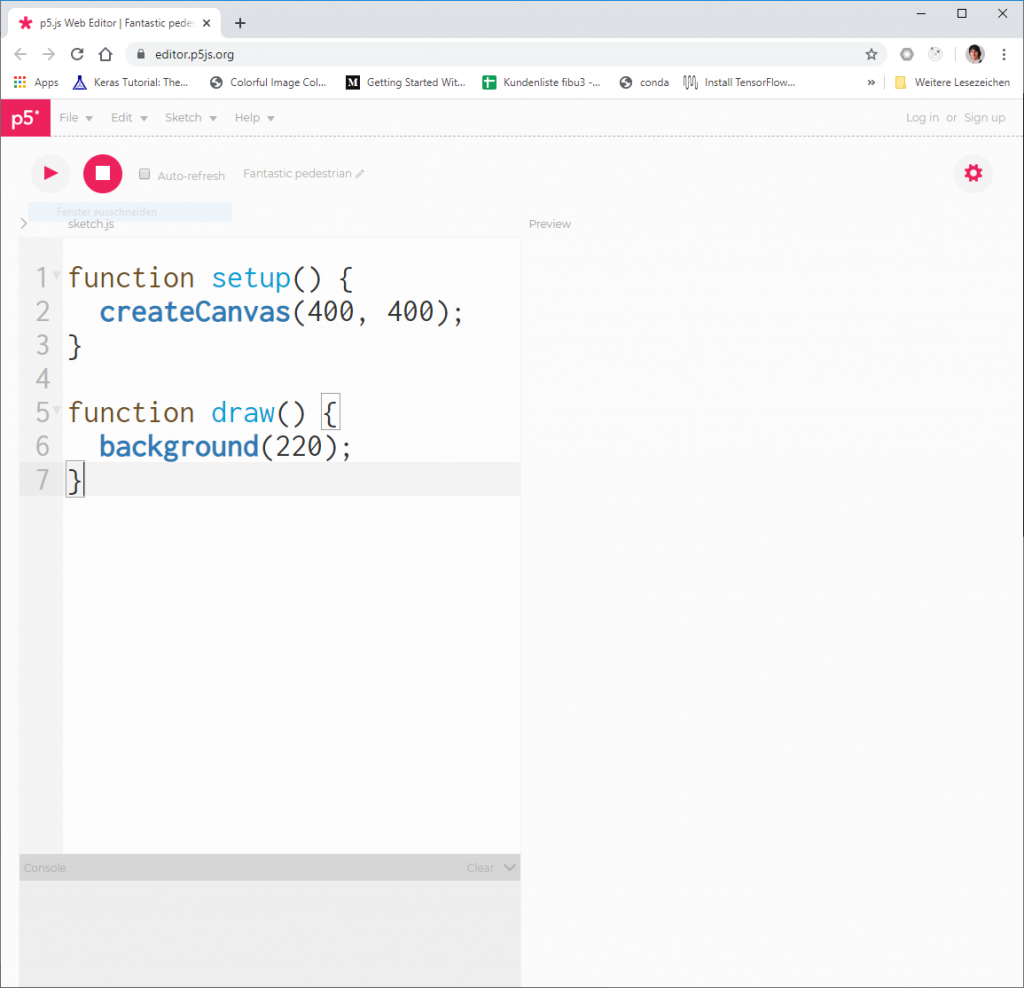
p5.js is a great JavaScript library to create little games that run directly in your browser. They even offer an online editor, so you can really just get started.
Find out more about p5.js here: https://p5js.org/
Or directly access the online editor: https://editor.p5js.org/
In this article I will show you a game we implemented as part of a programmer training for kids. Let’s go through it step by step!

Editor
Before we write one line of code I’d like to give you a quick introcution on the editor. Just open https://editor.p5js.org/ and the editor will open up instantly in your favorite browser.

You can write code on the left side and see the result on the right side, it’s that easy. if you hit the *play* button on the top bar it will actually execute the code. If you hit the button without any modification, it will render a grey 400px by 400px square in the preview area on the right side.
Maybe you want to create an account or login via Github or Google. This way you can save your game / application / sketch online.
Canvas
Before we can draw anything on the screen at the location we actually want, we need to understand the canvas and the coordinate system a bit better. Imagine the canvas as a squared paper, each square representing a single pixel. If I would ask you to draw a rect of 3 squares width and 4 squares height on the top left corner, that would be pretty easy.
In the end p5.js works the same way but you just code your instructions and p5.js executes them.
- First we create our canvas (e.g. createCanvas(400,400)
- And then we tell p5j.s to draw something on it
function draw() {
  background(220);
  rect(0,0,30,40);
}

In the example above we are now drawing a rectangle beginning at the top left corner. Play around with these numbers to get familiar with the coordinate system. What would you need to do to render a square exactly in the middle of the canvas?
Let’s have a look at the rect() function, it takes several parameters, but we will focus only on the most important ones for now: where do we want to place the rectangle, and what is it’s dimension.
rect(x, y, w, h)
| x | The X coordinate of the rect, from left to right, at which point do we want to start drawing the rect |
| y | The Y coordinate of the rect, from top to bottom, at which point do we want to start drawing the rect |
| w | The width of the rectangle in pixels |
| h | The height of the rectangle in pixels |
See https://p5js.org/reference/#/p5/rect to learn more about the rect() function. The documentation is fantastic and provides good examples.
Let’s assume our canvas is 400 by 400 pixels and we want to draw a rectangle of 50 by 50 pixels – perfectly centered.
Our first impulse might be to write: rect(200 ,200 ,50 ,50);

Not so bad, but if we really want to center the rect we need to correct the x and y parameters slightly (basically moving our rectangle a 25px left and up). Now we get the result we wanted!

The Game
What is the game about? You are a hungry little ball that want’s to eat other balls. Whenever you eat a new ball you not only get heavier but also faster. Caution: if you leave the playfield, you loose!
We will divide the game programming into three different parts:
- setup the scene (rendering the player and the enemy
- keyboard support and moving our player
- collision detection and finalization
Setup the Scene
State
Our game will need some state. In our simple game we will use some global variables as our state. For example we might want to store the player’s location on the screen, so that we can later update it and render it. Altough later on we will add a bit more state, to get started we need the following state:
| playerPositionX | The x coordinate of the player |
| playerPositionY | The y coordinate of the player |
| playerWeight | The current weight of the player |
| enemyPositionX | The x coordinate of the enemy |
| enemyPositionY | The y coordinate of the player |
As you can see the new sketch already contains two function where we can put our code:
setup()
The setup function is used to initialize our game. Here will setup our canvas (on which we will paint our game) and initialize some game variables like the player’s initial position on the screen. When we start the game, this function is called first.
draw()
The draw function is repeatadly invoked by p5.js to render the current state. So here we will actually draw our scene / the current state to the canvas.
Code
let playerWeight  = 10;
let playerPositionX = 300;
let playerPositionY = 300;
let enemyPositionX  = 0;
let enemyPositionY   = 0;
function setup() {
  // setup the random initial location of the enemy
  enemyPositionX  = random(500);
  enemyPositionY   = random(500);
  createCanvas(500, 500);
}

function draw() {
  // draw a black background
  background(0);

  // define the fill color for the player
  fill(255,120,90);
  // draw a circle (our player)
  circle(playerPositionX, playerPositionY, playerWeight);

  // define the fill color of the enemy
  fill(0,255,0);
  // draw the enemy as a circle
  circle(enemyPositionX , enemyPositionY  , 20);
}
Run the code and you should see something like below in the preview area.

- We used the setup() function to initialize our canvas and set the initial location of our enemy. random(500) produces a random value between 0 and 500
- In the draw() function we tell p5.js line by line what do do!
- First draw a black background. You can actually pass more values to the function to define the color. Maybe try background(255, 0, 0) and you will get a red background. You can actually mix your own color by defining how much red green and blue (RGB) you want in your color. Learn more about the RGB colors; https://www.w3schools.com/colors/colors_rgb.asp
- Then we ask p5.js to use another fill for its pen (again we can set any RGB color code)
- After having set the color, we draw a circle at the given location. The third parameter is the diameter
- Same thing for the enemy, first use another fill color
- Then draw the circle at the enemy’s location