First things first. I try to document how I have setup my project. If you want to follow the steps for your own project, let’s first list what you need as a prerequisite:
- Node (I have 10.15.3 installed)
- A Firebase account (I think a Google account is sufficent and you will have it already – but not quite sure)
Install the tools
npm install -g firebase-tools

npm install -g @angular/cli

Create the project
First of all the Angular project
ng new typolino

Connect to Firebase
First of all I created the project on the Firebase console. The main steps where to create the database and storage.
CD into the created project directory
cd typolino
Login into Firebase (follow the steps)
firebase login
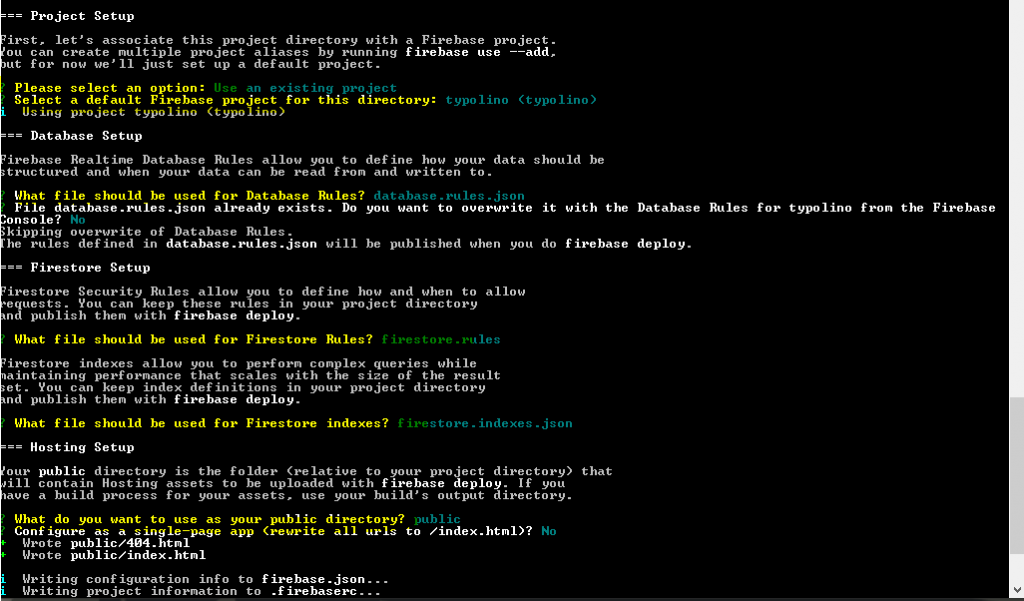
Init the firebase project
firebase init

I chose the default on the next couple of questions..

I could have already set the proper path for the public directory. But I changed it later manually, it’s easy. Angular will by default compile it’s production build into dist/typolino. Therefore I had to change the public path in the firebase configuration file as follows:

Build and Deploy
The initial setup is done. To test it I ran a production build with Angular CLI and deployed the files to Firebase.
ng build --prod
firebase deploy
firebase open hosting:site
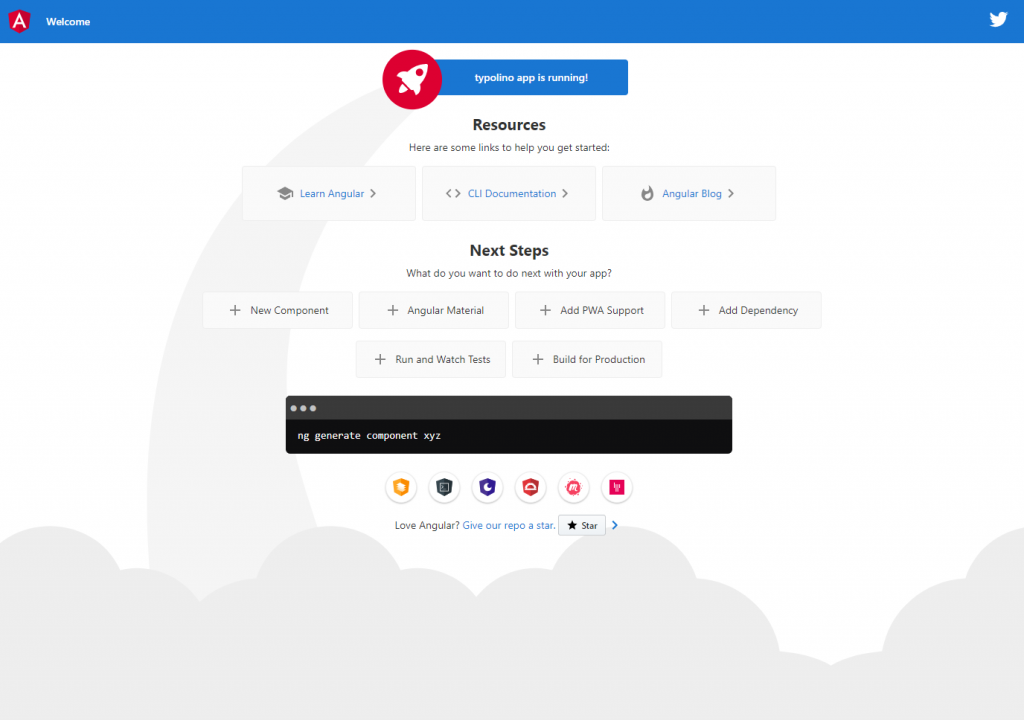
This should open the application in your favorite browser.
